In the Analyzing files process, files for translation are analyzed against
a translation memory to leverage reusable content and pre-translate files.
This process can greatly improve efficiency and reduce time and effort
spent on translation. Find below the procedures for the following tasks:
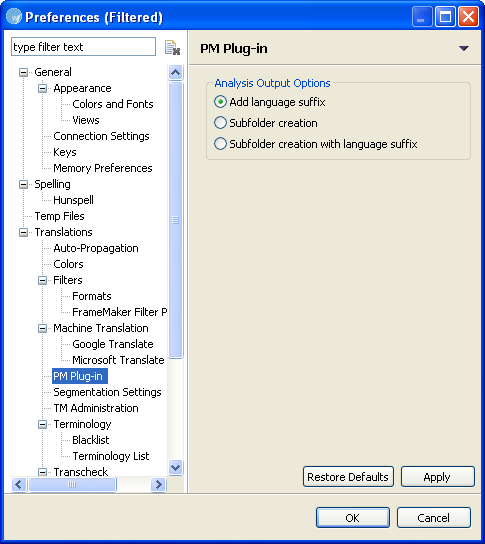
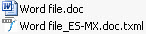
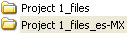
When a file is analyzed, an analysis output is generated in the same
folder as the source files. The analysis output is the pretranslated TXML
file. The analysis output options allow you to choose whether the pretranslated
TXML file should be renamed to add the language suffix or placed in a
separate folder with a language suffix or both.
Open Wordfast Pro and click  .
.
The PM perspective appears
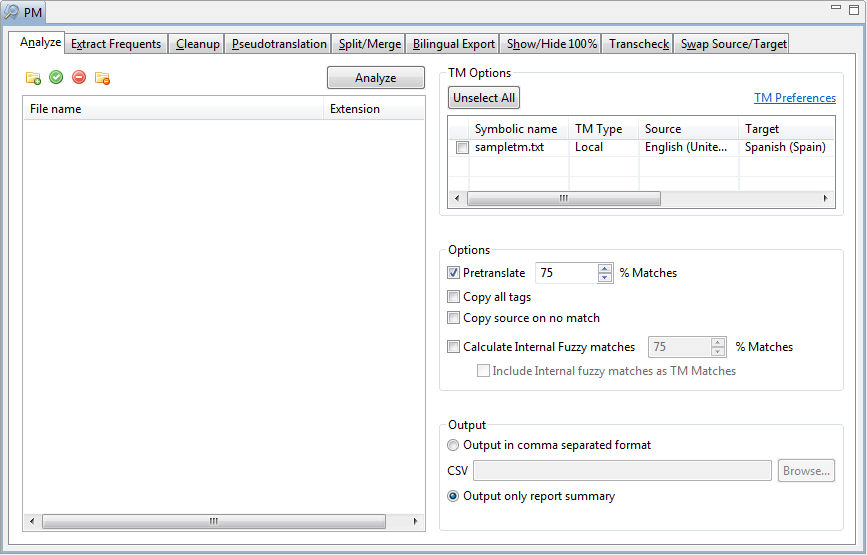
Click Analyze.
The Analyze window appears.
Select files from the available
list or click  , to browse and add files.
Select the folder with the files
and click OK.
The Choose Format dialog box appears.
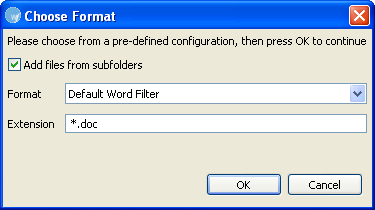
Select Add
files from subfolders checkbox if you want to add
all files within a folder, including the files in the sub folders.
Select the file Format.
The file Extension appears
automatically.
Click OK.
The file names appear.
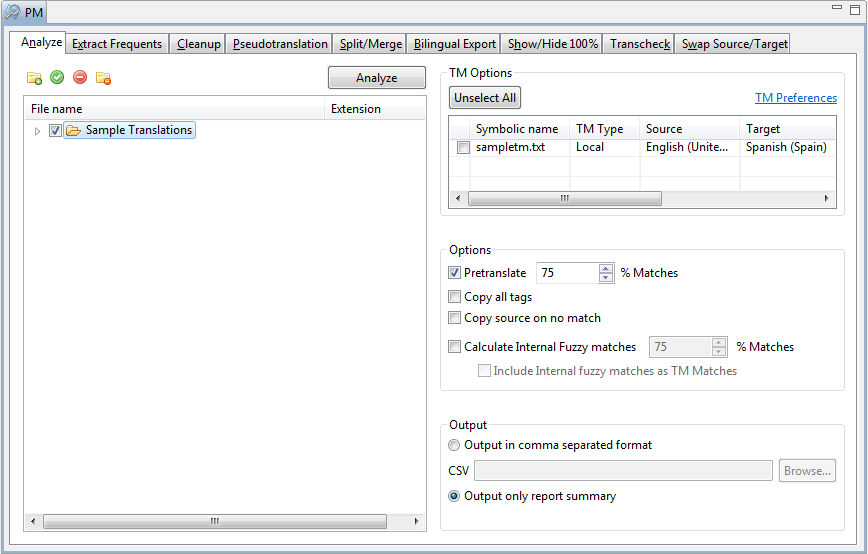
Click + to open the folder and
select specific files.
Note: You can analyze up to 20 files at a time using Wordfast Pro in
Demo mode. If you want to analyze more files you will need to purchase
the Wordfast Pro
license from www.wordfast.com.
Select one or more translation
memories for analyzing the files.
Note: You will need to add at least one translation memory (TM)
before analyzing files. To add a local or remote TM, click TM
Preferences. Go to Creating
or opening a TM for more information. You can click in the TM Options
column header to sort the TMs in ascending or descending order. You can
unselect all chosen TMs by clicking on Unselect
All.
-
Select the following options if required:
|
Select |
to... |
|
Pretranslate |
pretranslate the translatable segments and enter the percentage
of TM matches.
Note: This is an optional
step. The percentage defines the minimum leverage required to pre-translate
a specific segment.
You can also specify the analysis output option. For more information,
refer Selecting Analysis output
option. |
|
Copy all tags |
from the source to the target segments for blank segments. |
|
Copy Source on no match |
copy source segments to target only for no match segments. |
|
Calculate Internal Fuzzy Matches |
calculate internal fuzzy matches in source files. For example, if
there is a partial repetition of segments in a source file, it will be
calculated as an internal fuzzy match.
Select the percentage that should be calculated for such segments. |
|
Include Internal Fuzzy matches as TM Matches |
include internal repetitions as a TM match. |
Select format
for the output report. You have two options:
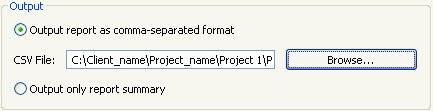
Output in comma-separated format: Select this option and click Browse to select a location and provide
a file name as shown in the screenshot below.
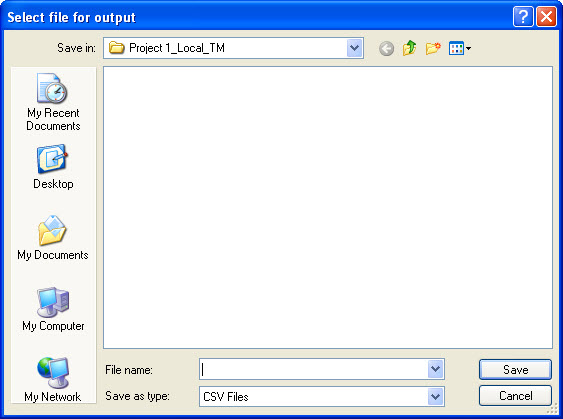
Click Save, to save the CSV
file. The Analyze window appears with the location of the CSV file as
shown in the screenshot below.
Output only report summary: Select this option to view the output report
on-screen
Click Analyze.
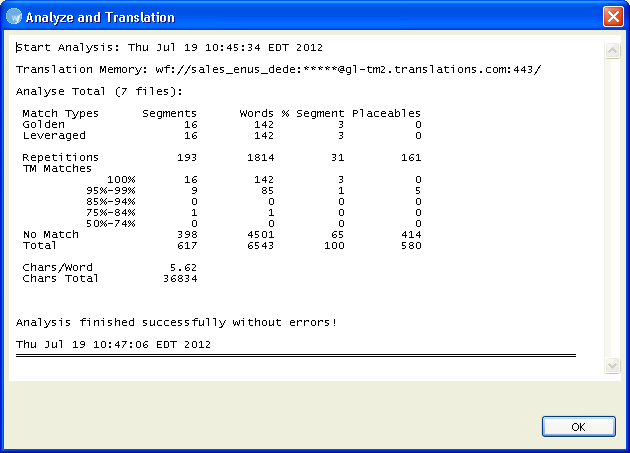
The analyzed TXML files are saved in the same folder as the source
files. According to the output report format, either a CSV file is saved
at the chosen location or the Analysis and translation report appears
as shown below. The report for files analyzed against separate TMs appears
in separate tabs. The TM analysis report will display either % Segments
or % Words based on the option selected in step 9 of Selecting
translation memory settings.