Open Wordfast Aligner and click File
> New Project or  or Ctrl+N.
The New Project dialog box appears.
Complete the following entries:
|
Option |
Description |
|
Project Name |
Enter a unique project name. |
|
Project Location |
Enter the path or click |
|
Source Path |
Enter the path or click |
|
Source Language |
Select the source language of the source documents from the drop down list. |
|
Target Path |
Enter the path or click Note: The target files can be in TXML, DOC, PPT and XLS file formats. |
|
Target Language |
Select the target language of the target documents from the drop down list. |
 to select a location for the project.
The File Alignment page dialog box appears.
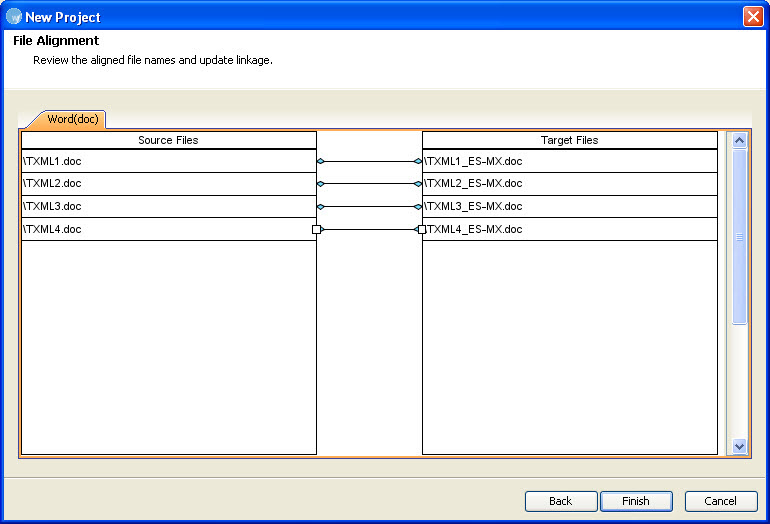
Note: You can select the link and press the Delete button to delete them or drag the cursor to create new links.
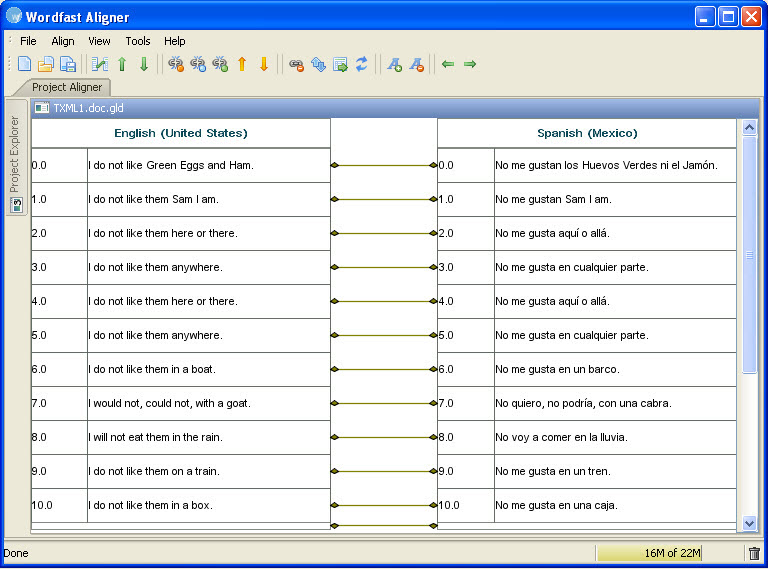
A new project file (.glp) is created and the first document (.gld) in the project appears in the Project Aligner window as shown in the screenshot below.
Note: The file alignment is a back-end process that creates automated system links (JDiagram links) between source and target segments of a document.
Note: You can select the link and press the Delete button to delete them or drag the cursor to create new manual links.
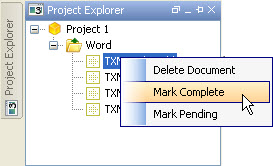
Note: In the Project Explorer you can right click on a document name to complete the following actions: delete, mark as complete or pending. An example screenshot is shown below.
 , to create a Wordfast Pro compatible TM.
The Export TM dialog box appears.
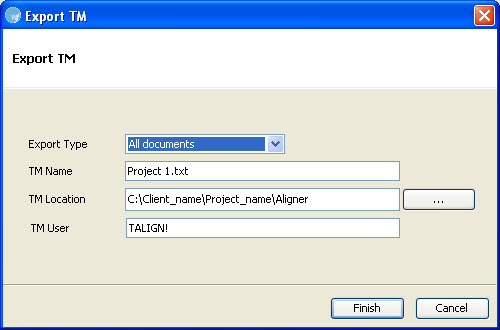
All documents: includes open, pending and completed documents
Current document: includes currently open document only
Completed documents: includes documents that are marked as complete
Note: These options are automatically populated based on the project file name.
Note: The TM User is a penalty string that is added to the TM. This will help the user identify aligned source and target content.
A Wordfast TM is created at the specified location.