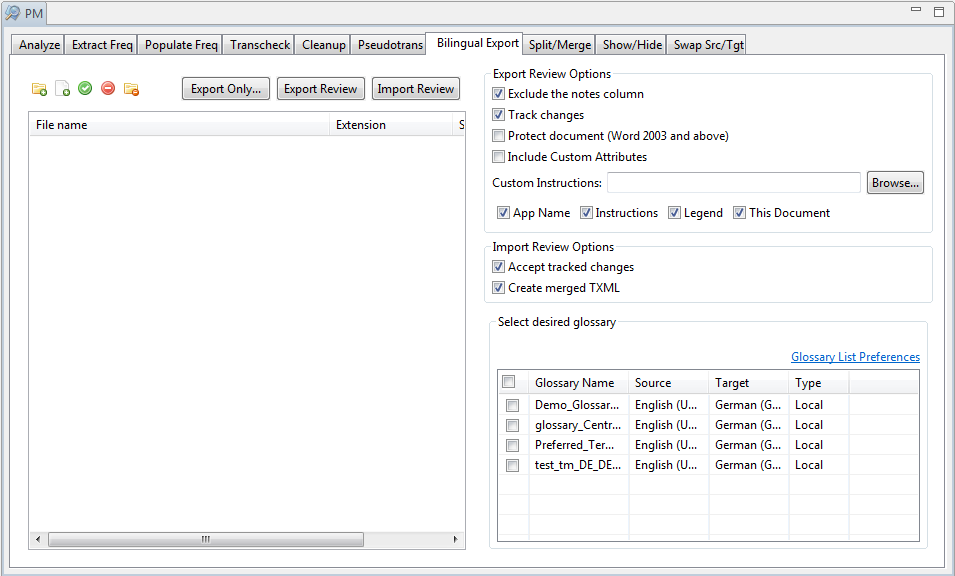
The Bilingual export option allows you to export the bilingual document
file into DOC format, edit using Microsoft Word, and import the DOC file
back into the TXML file.
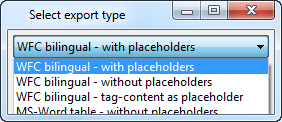
The Export Only... feature allows you export file(s) to Wordfast Classic
(WFC).
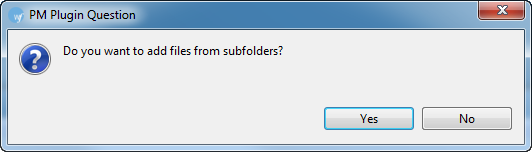
Select the TXML file(s) from
uploaded folder as shown in the example below.
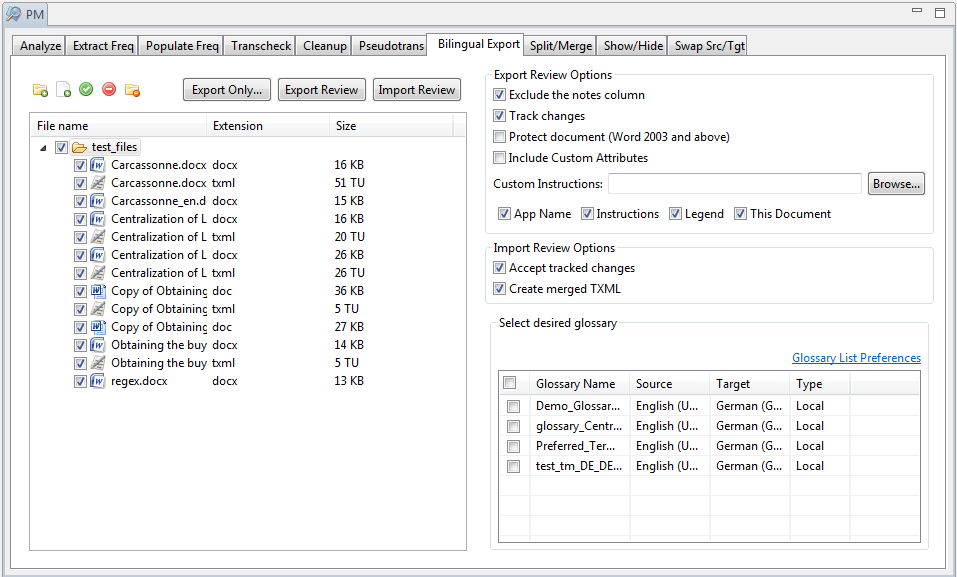
Select the following Export
Review options, if required:
Select |
to... |
Exclude
the notes column |
exclude
the notes content when the TXML file is exported to RTF. |
Track
changes |
track
changes in the RTF. |
Protect
document (Word 2003 and above) |
protect
the file if using MS Word 2003 and above. |
Include
Custom Attributes |
include
or exclude custom attributes in the export |
Browse to the file containing
any Custom Instructions for the exported review, and click Open
File to attach the file to the exported document.
Note: The exported review document
contains default instructions, Custom instructions, or no instructions.
Select the checkboxes for
the following options, to clear them. All options are selected by
default. If all options are cleared, the exported file contains only
segment tables for review.
Select |
to... |
App
Name |
add
the name of the review application to the exported review
document. |
Instructions |
add
default instructions to the exported review document in .rtf,
.doc or .docx format to the file for review.
- If selected, default instructions are added to the
exported review document.
- If selected, and Custom Instructions are added, custom
instructions are added to the exported review document.
- If Instructions
is not selected, no instructions are added to the exported
review document. Custom
Instructions and the Browse
button appear shaded, and cannot be activated.
|
Legend |
show
or hide the legend in the exported review document. |
This
Document |
show
details of the exported review document, such as source and
target locale. |
Click Export
Review.
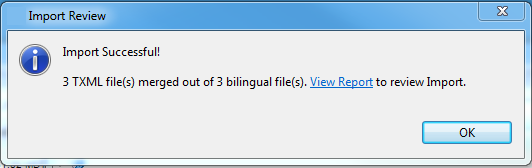
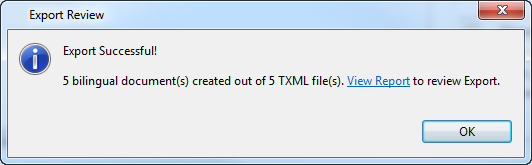
If the export is successful, a confirmation message appears.
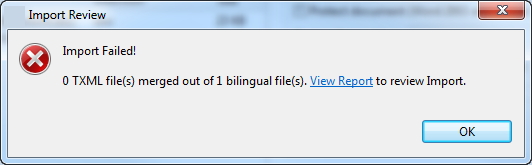
If the export fails, a failure message appears.
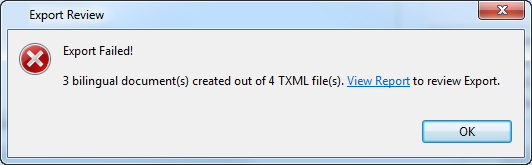
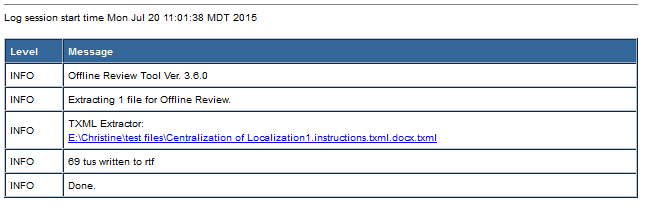
Click View
Report. The log appears. This log and the exported file in
the chosen format are saved in the same folder as the selected TXML
file(s).
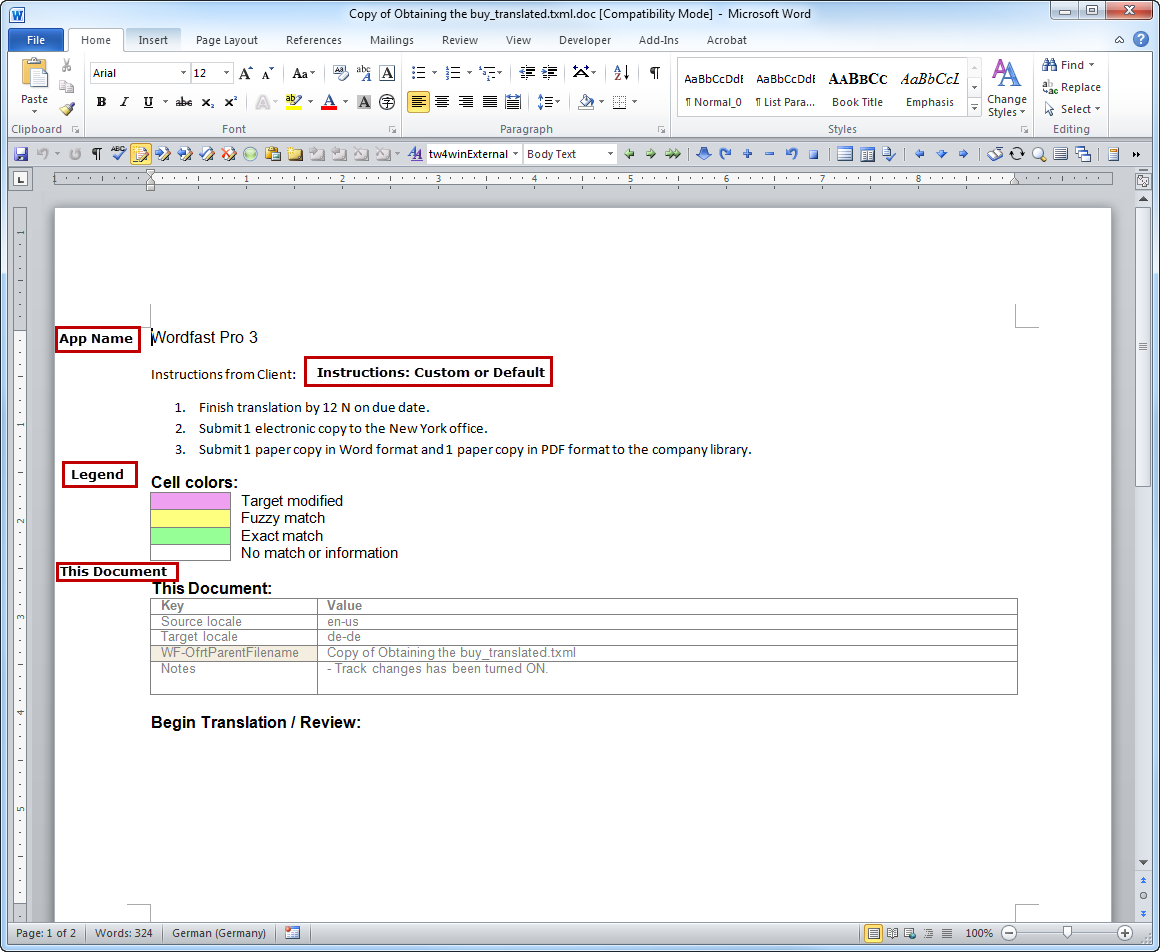
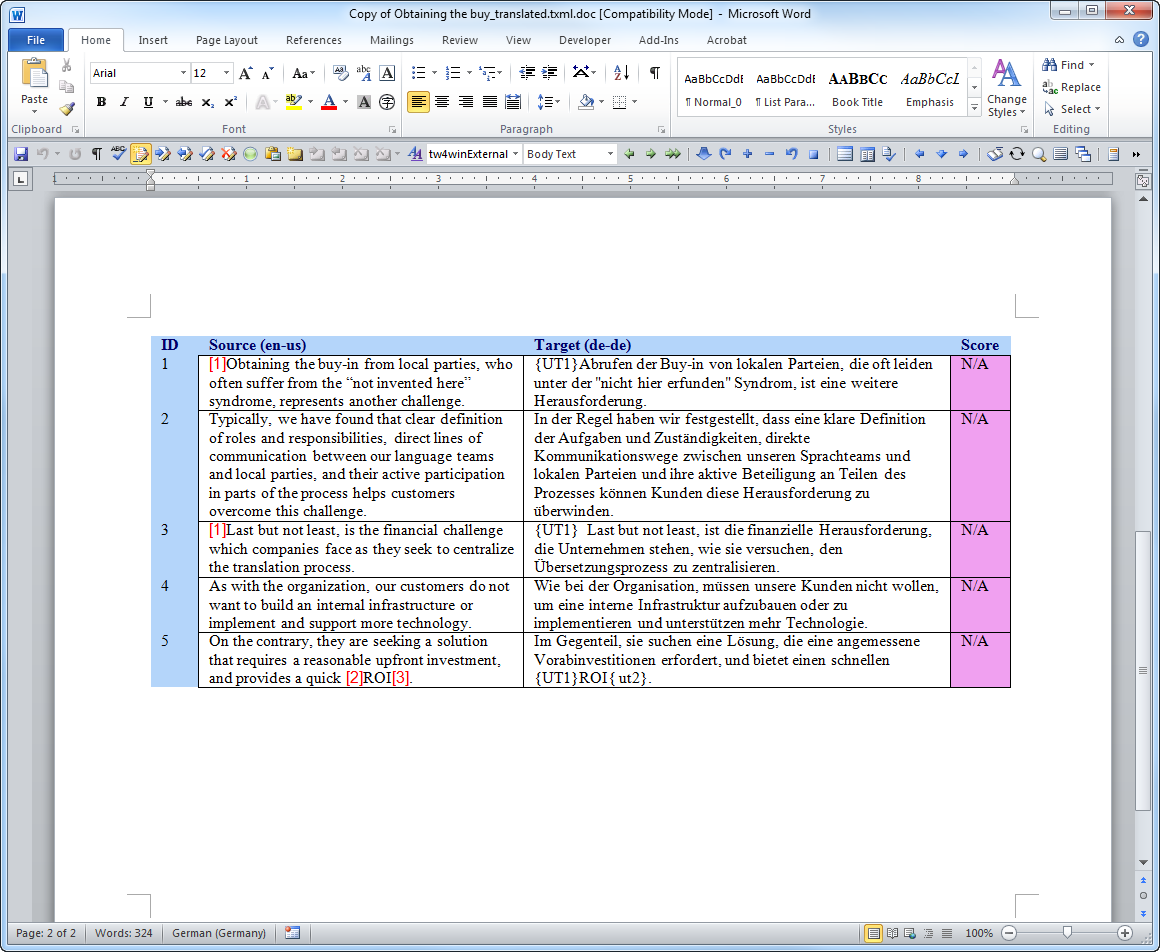
To view the exported DOC,
access the same folder where the selected TXML file(s) was located.
An example of the exported DOC, and the corresponding Export Review
options, appears below.
Complete the review of the
file before importing the review back to Wordfast Pro 3.