Create Project

A project must be created in Wordfast Pro, before translating files. A project is the repository that contains source and target languages, glossary, translation memory (TM), and reference files. A project also includes file format filters that allow to prepare the translation files.

To create a project:

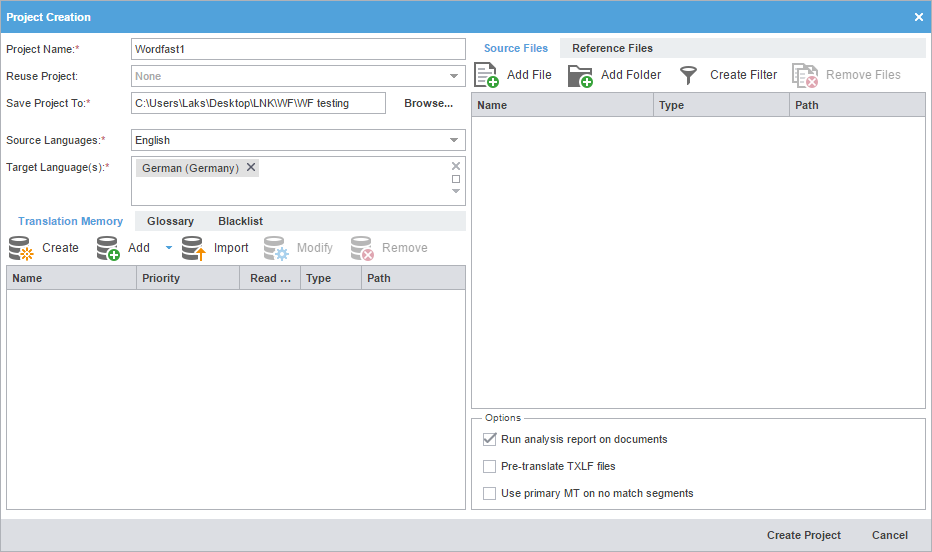
  1. On the Projects tab, click Create Project.
  2. On the Project Creation dialog, enter a project name.
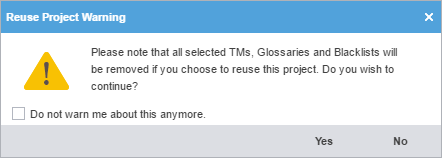
  3. (Optional) If you want to reuse the profile of a previously created local project, select one from the Reuse Project drop-down list.
      Note:

    When reusing a project, all existing translation memories, glossaries or blacklists are removed. A warning message is displayed before you proceed with this action.

  4. Enter the Save Project To location or click Browse... to navigate to the location where the project must be saved.
  5. Select the Source Languages and Target Language(s) from the drop-down lists.
      Note:

    You can refine the Source Language and Target Language drop-down list results by starting to type a language name.

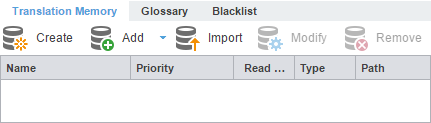
  6. On the Translation Memory tab, enter the required information.
    • Create a local TM.

      1. Enter a unique name for the new TM.

      2. Select the languages.

      3. Browse and select the location where the TM file must be saved.

      4. Select TM Priority.

      5. Select whether TM will be Read-only.

    • Add Local TM: Select the TM folder.

    • Add Remote TM: Enter the TM Server or WF Server details. Refer to Connect To Remote TM.

    • Add Project TMs.

      1. Select the project that includes the TM you want to import.

        The Source Language, Target Language(s), and List of TMs are displayed based on the project selection.

      2. Remove the target languages or TMs that you do not want to import, from the Target Language(s) and List of TMs fields.

    • Import local TM.

      1. Select the import File Type: TMX or WF TXT TM

      2. Click Browse to locate and select the import file.

      3. Select the TM creation option: Create a new TM or Import into existing TM.

        Refer to Import TM.

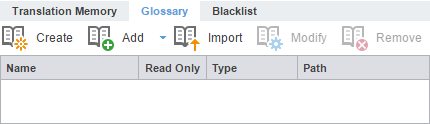
  7. On the Glossary tab, enter the required information.
    • Create: create a new local glossary.

    • Add Local: browse and select an existing local glossary.

    • Add Remote: select an existing Term Manager connection.

    • Add Project Glossaries.

      1. Select the project that includes the glossaries that you want to import.

        The Source Language, Target Language(s), and List of Glossaries are displayed based on the project selection.

      2. Remove the target languages or glossaries that you do not want to import, from the Target Language(s) and List of Glossaries fields.

    • Import local glossary.

      1. Select the import File Type: TBX or Tab delimited.

      2. Click Browse to locate and select the import file.

      3. Select the glossary creation option: Create a new glossary or Import into existing glossary.

        Refer to Import Glossary.

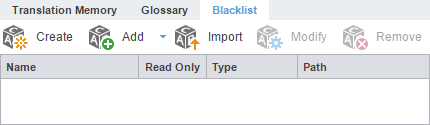
  8. On the Blacklist tab, enter the required information.
    • Create: create a new local blacklist.

    • Add Local: browse and select an existing local blacklist.

    • Add Remote: select an existing Term Manager connection.

    • Import local blacklist.

      1. Select the import File Type: TXT

      2. Click Browse to locate and select the Import File.

      3. Select the blacklist creation option: Create a new blacklist or Import into existing blacklist.

        Refer to Import Blacklist.

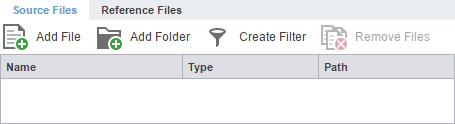
  9. On the Source Files tab, add the source files.
    • Click Add File or Add Folder to browse to the file or folder.

    • Drag the file(s) from a folder to the Files panel.

      Note:

    To copy source files into the Source File folder within the Project folder on your computer, go to Preferences > General and select the Copy Source Files into Source Folder checkbox on the dialog. Refer to General.

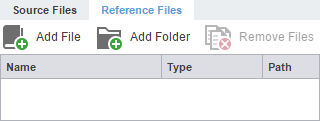
  10. On the Reference Files tab, add the reference files.
    • Click Add File to browse to the reference file.

    • Click Add Folder to select a folder and add all reference files within.

  11. (Optional) Select the additional Options.
    • Run analysis report on documents: analyzes source files against TMs and generates a report. This report can also be viewed under the Reports tab, after opening the project.

    • Pre-translate TXLF files: populates TM leverage when TXLF files are open.

    • Use primary MT on no match segments: leverages primary MT when no matches are received from the local and remote TMs. This option is only available if Pre-translate TXLF files is selected.

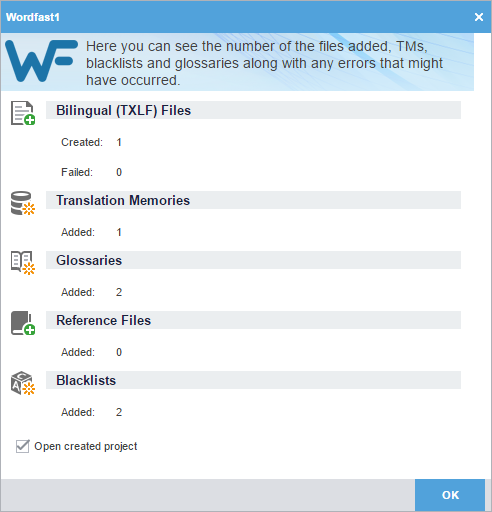
  12. Click Create Project to analyze the files and display the project creation summary.
  13. (Optional) Select Open created project and click OK, to open the new project.

    The project is created.